The customers page is used to create and manage customers.
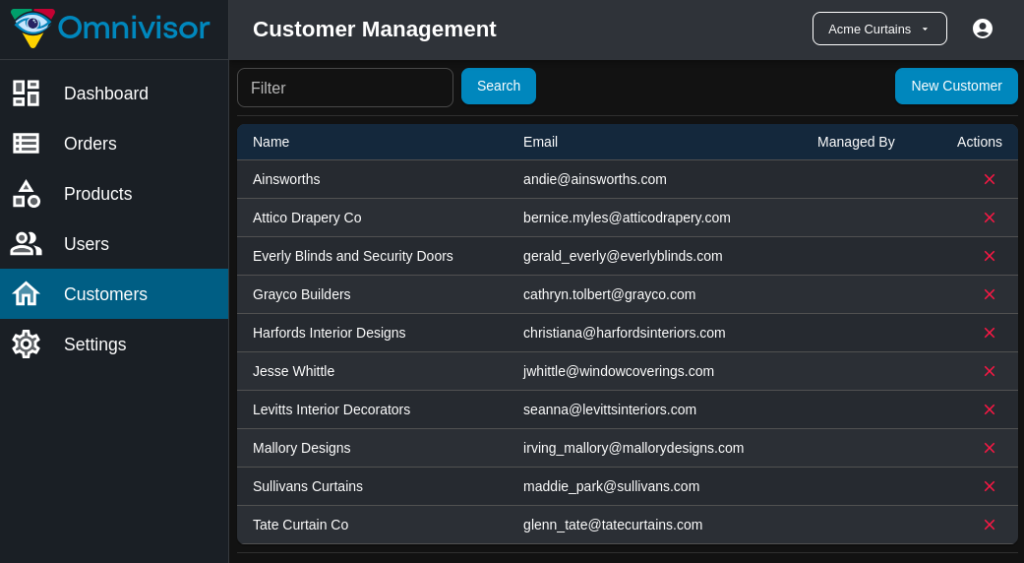
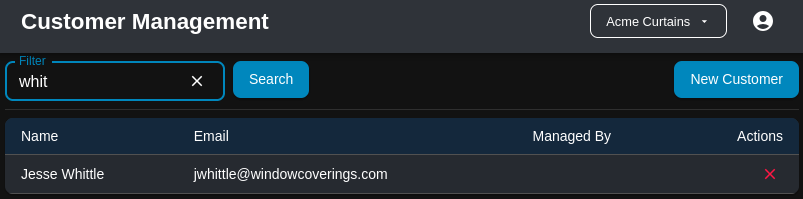
To search for specific customers, enter a search term into the filter field and click on the Search button. The search term may be any full or partial term that matches all or part of the customer name.
To delete a customer, click on the red ![]() in the Actions column. A confirmation dialog will ask you to confirm that you wish to really delete the customer or not.
in the Actions column. A confirmation dialog will ask you to confirm that you wish to really delete the customer or not.
To create a new customer, click on the New Customer button in the top right corner.

To edit an existing customer, click on the table row for that customer.
Creating and Updating Customers #
The customer details page is used to manage the details for new and existing customers. It can be opened by clicking on a customer row on the customers page (to edit an existing customer), or by clicking on the New Customer button on the customers page (to create a new customer).
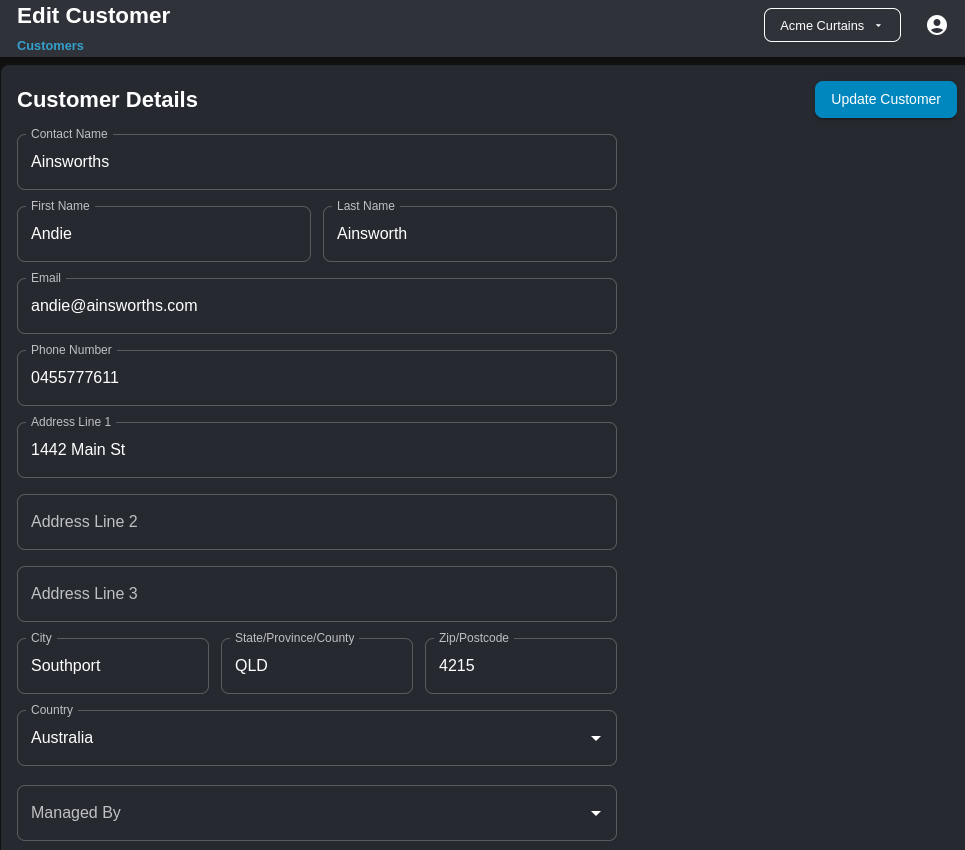
The fields on the customer details page are mostly self-explanatory. Besides the contact name for the customer (which is a required field and must be unique across all customers – no duplicates are allowed), the remainder of the fields are all optional, and may be filled out at will with the customer’s contact details.
Once all modifications have been made, click on the Update Customer button to save the changes and return to the Customers page.
Managed By #
The Managed By field is a special field that allows a user to be assigned to manage the orders for this customer. This is most commonly used in conjunction with Guest users (see the Managing Users page) to allow customers to be able to place and manage their own orders directly via the Omnivisor Mobile application.
Guest users cannot see any other customers or their orders, only their own orders. To select a user to manage this customer, click on the Managed By select box and then click on one of the users in the dropdown list. To clear the user, hover over the Managed By field and click on the X button to clear the field.
