Products that your organization sells or uses during the production process may be created and managed from the Products page in Omnivisor Dashboard. You are required to have either the owner or administrator role within the organization in order to manage products.
Managing Product Ranges #
Before creating any products, you may wish to first configure some Product Ranges. While these are optional, they allow you to conveniently arrange your products into one or more groups which may make it easier when dealing with an inventory of hundreds or thousands of products. Each Product may belong to one or more Product Range (or none).
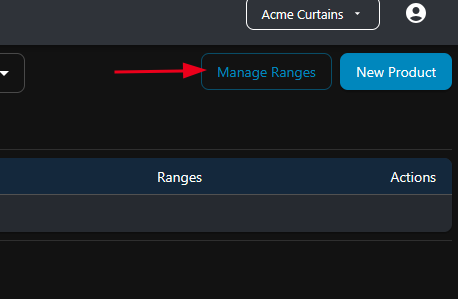
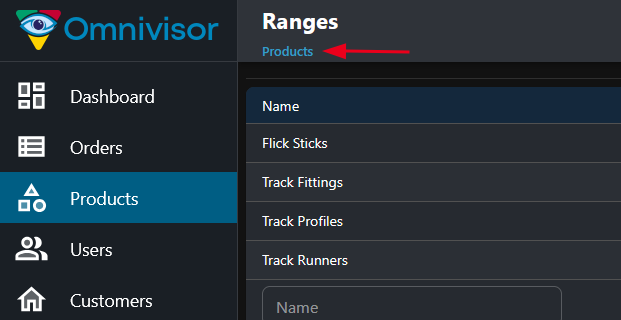
From the Products page, click on the “Manage Ranges” button to switch to the Product Ranges page.
Creating Product Ranges #
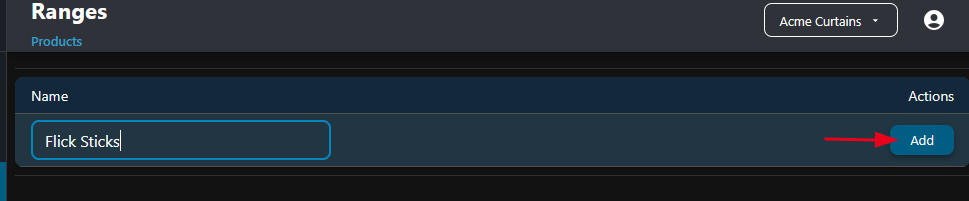
From here, simply start typing in the Name text box then click the Add button to add a new Product Range:
Repeat this process to add as many Product Ranges as you wish:
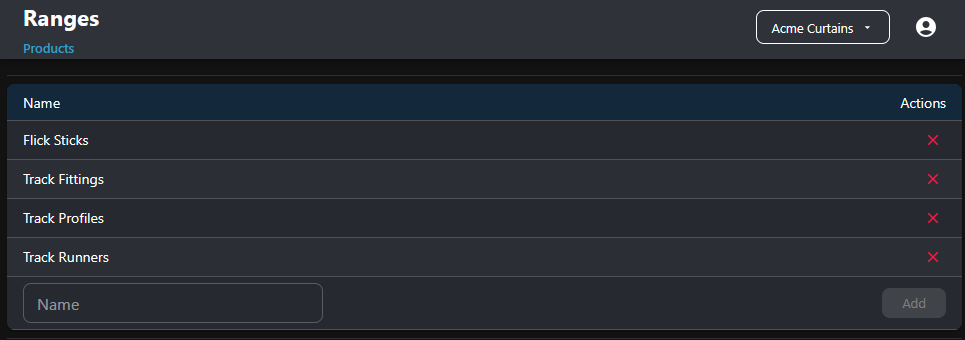
Editing Product Ranges #
To edit a Product Range, click on the table row that you wish to edit. Only the name of the product change may be edited – after making changes to the Product Range name, click on the Save button to save the changes or Cancel to cancel editing and revert any changes made.

Deleting Product Ranges #
To delete a product range, click on the red X in the Actions column on the far right of the table of the row you wish to delete. A confirmation dialog will be displayed, to confirm and proceed with the delete click the Delete button otherwise click on the Cancel button to cancel the delete operation.

When done, click on the Products link at the top to return to the Products page.
Creating Products #
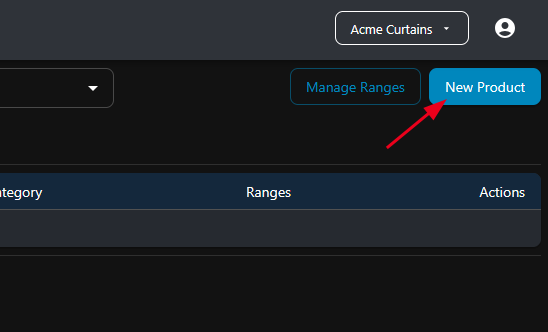
From the Products page, click on the New Product button to create a new product.
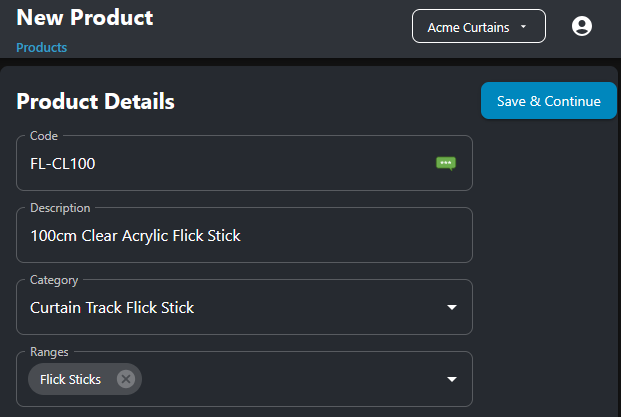
On the New Product page, enter values for the following fields:
Code – An optional code for the product. While this field is not required, if you do provide one then it must be unique for all products within the organization.
Description – A description for your product.
Category – Select one of the categories from the dropdown list. It is important to select the correct category before proceeding as once the product is saved, its category cannot be changed and the product will need to be deleted then recreated again if you wish to change its category.
Ranges – Select one or more ranges if you’d like to assign this product to a product range, otherwise leave blank if you do not wish to use Product Ranges.
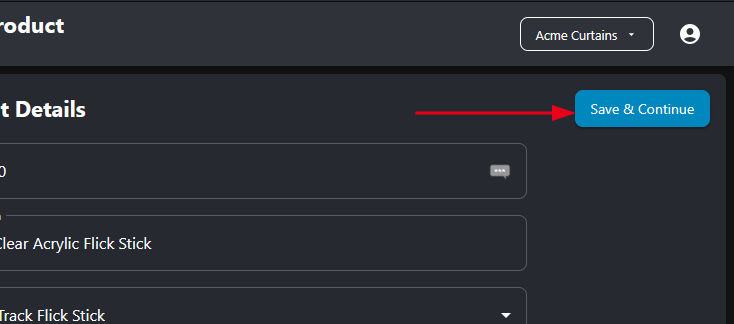
After entering values for each of the fields, click the Save & Continue button to proceed. You will then be presented with the Edit Product page which is essentially the same form however adds sections to manage Product SKUS and Compatible Products.
Editing Products #
The Edit Product page allows you to edit the product’s code, description and ranges, as well as manage its SKUs and Compatible Products. Changes made to the basic details of the product (code, description and ranges) are only saved when the Update Product button is clicked. SKUs and Compatible Products are updated and saved independently.
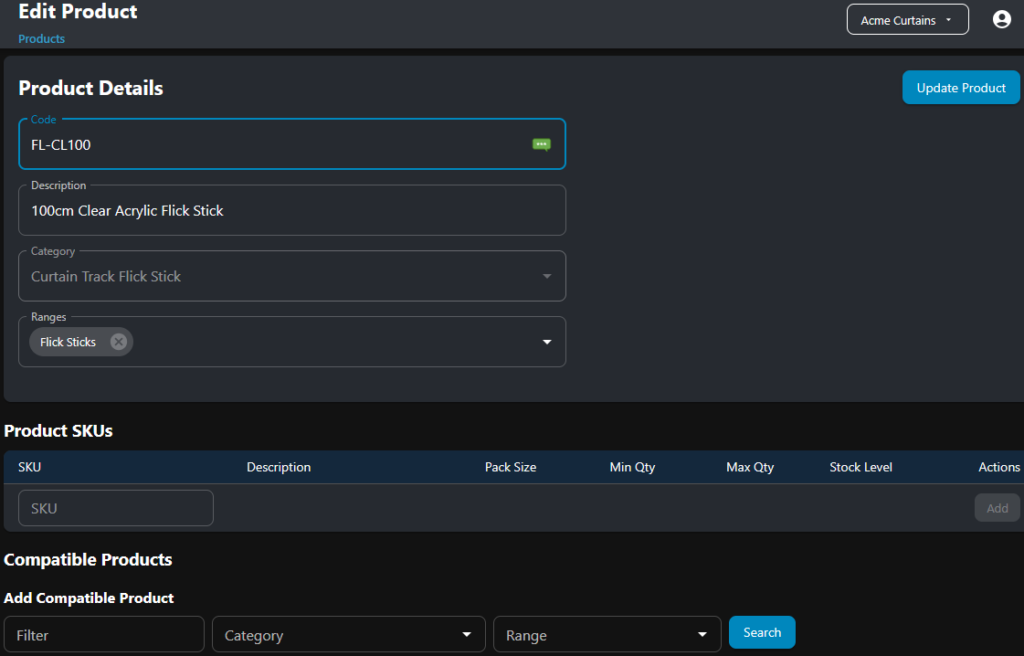
To edit the basic product details, modify the field values for code, description or ranges as required, then click the Update Product button.

Product SKUs #
Product SKUs (Stock Keeping Units) are a unique code that define a particular product instance, and may be used to distinguish between various packaging sizes or other product attributes (such as colour, style or material) for a single product type. They are identified by (typically) short alpha-numeric codes which must be unique across the entire organization.
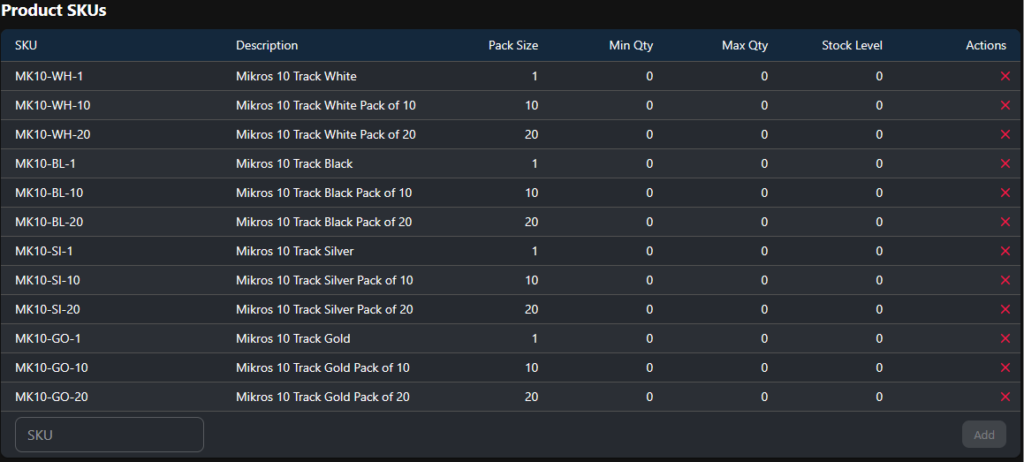
For example, let us assume that hypothetical company Acme Curtain Hardware sells many ranges of curtain tracks, of which one is a compact track profile which they call Mikros 10. The range of Mikros 10 tracks comes in an assortment of colours (white, black, silver and gold), with each colour being sold individually or in packs of either 10 or 20. Each one of these combinations must be provided with a unique SKU value, which identifies the exact product, attributes and pack size of the item.
Ideally, these properties should be reflected in the actual SKU identifier itself – e.g. MK10 to represent the Mikros 10 range, WH, BL, SI, GO to represent the colours and a numeric value to represent the pack size. So for a pack of 20 Silver Mikros 10 tracks, the SKU might be MK10-SI-20, while the SKU for an individual Mikros 10 track in white might be MK10-WH-1. Such an identification scheme that incorporates meaning into the unique SKU code is more intuitive for operations and warehouse staff compared to, for example an incremental numeric value.
Going further with our example, we might end up with something like the following for the set of unique Product SKUs for the Mikros 10 range:
Creating SKUs #
To start creating a new SKU, start by clicking on the SKU text field in the bottom row of the Product SKUs table, and start typing the new SKU value. The row will expand to present you with a complete form:
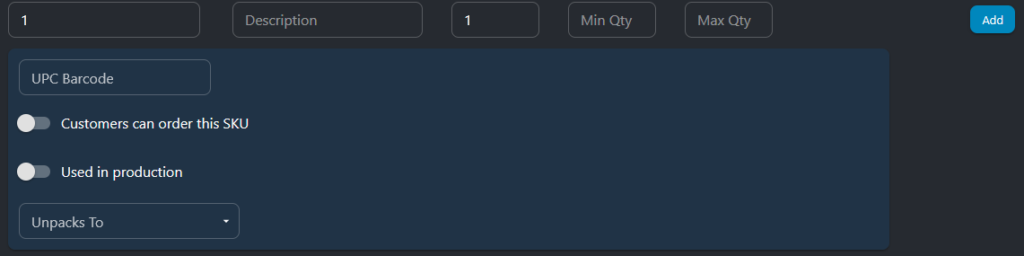
The fields at the top correspond to the columns of the table – SKU, Description, Pack Size, Min Qty and Max Qty. Enter values for these fields as required.
- SKU – The SKU code, must be unique within the organization, and is recommended to consist of only alpha-numeric and dash (-) characters.
- Description – a description for the SKU. It should be as concise as possible however still describe the distinct qualities of the individual SKU. Colour, material, pack size etc should be reflected here. For example, if your company sells Widgets in a variety of styles, colours and pack sizes, then the descriptions should reflect these – i.e. Widgets Blue Pack of 5 or Widgets Aluminium 50 Pack. Include as much detail as required in order to distinguish each individual SKU from other SKUs. If the SKU is just for an individual product (i.e. a pack size of 1) then something like Widget Stainless Steel would be a sufficient description.
- Min Qty – Minimum stock quantity, while not currently in use will become more important when Omnivisor introduces full Inventory Management capabilities.
- Max Qty – Maximum stock quantity, also not currently in use.
The remainder of the fields can be set as follows:
UPC Barcode
While not currently in use, a value for this field may still be entered if scannable barcodes are used for products within your organization. When Inventory Management features are provided by Omnivisor in a future release, these values will be useful when carrying out a stock take or for other stock adjustment operations.
Customers can order this SKU
This switch may be set on if the sku is to be made available for customers to order directly. In the case where the sku is solely used for production purposes only (i.e. consumed as a material when manufacturing finished products) then this should be leave in the off position.
Used in production
This switch should be set on if the sku is used within the production process. This will have the effect of making the sku available on the orders page when selecting values for certain fields. For example, a sku belonging to a product with category of Curtain Track Profile will be available for selection when adding a curtain track to an order on the order details screen, allowing the user to select that sku when placing an order. As a general rule, if a sku is to be used in production then it should have a pack size of 1 – i.e. when selecting the sku for use in an order it should be its singular form.
Unpacks To
This field allows you to select another sku from the same product to indicate what happens when a pack of multiples of a sku is unpacked. For example, your organization might carry a product called Squibbles, which are supplied by an upstream manufacturer in packs of 20. Your organization might sell this product in the original pack of 20, and also as single units – and so would establish two skus for the product – sku SQ-20 Squibbles 20 Pack and sku SQ-1 Squibble. To actually obtain stock for sku SQ-1, a pack of 20 Squibbles (i.e. sku SQ-20) would be opened and unpacked to give 20 individual Squibbles which are then resold as sku SQ-1. By setting up this relationship between skus, this will allow the accurate tracking of stock levels once Inventory Management features are fully introduced as a feature in a future release.
After entering in all required values, click the Add button to create the SKU.

Editing SKUs #
To edit a sku, click on the table row of the sku to display the edit form. Make changes as required, then click the Save button to save your changes. To revert any changes and cancel editing, click on the Cancel button.

Deleting SKUs #
To delete a SKU, click on the red X in the Actions column of the table row for the SKU that you wish to delete. A confirmation dialog will be displayed asking to confirm the delete – click on the Delete button to confirm the delete operation, or Cancel to abort.

Compatible Products #
When editing a made to order product in the order details page, there will be some fields that depend on the selection of another field in order to show the correct select options. For example, if your organization supplies curtain tracks, then the selection of the track fitting will first depend on which track profile has been selected. I.e. it should not be possible for a user to select a track fitting that is not compatible with the selected track profile. This functionality is made possible by defining relationships between compatible products on the Edit Product page.

Currently, the following product relationships are taken into account when editing orders:
- Curtain Track Profile -> Curtain Track Fittings
- Curtain Track Profile -> Curtain Track Runners
It is only possible to create or delete product compatibility, there is no edit function.
Creating and Deleting Compatible Products #
On the Edit Product page, the Compatible Products section lists the other products with which a product is compatible. The relationship between compatible products is two way; it can be defined on either of the two compatible products and will be displayed when editing either product. When deleting a compatible product, this will also be reflected in both of the products.
To add compatible products, start by using the search fields within the Add Compatible Product section to search for other products to add as compatible:

For example, when editing a track profile and a previously created track fitting should be made compatible with the track profile, select Curtain Track Fitting in the Category field and click the Search button. Alternatively, if you know the name of the compatible product then enter at least a few characters of that name in the Filter field, or select a range that the other product belongs to before clicking Search. Any products that match the search properties that have been entered will be displayed in a table below:

To make a product compatible, simply click on the green plus icon ( ) in the Actions column of the product row and the product will be added to the list of Compatible Products:

If there are multiple products in the search results to be added, then click the green plus icon for each of them in turn, and they will each be added to the list of Compatible Products. Any changes made to compatible products are saved in real time, and there is no need to click the Update Product button to save changes made in this section of the Edit Product screen.
To delete a compatible product, simply click on the red X in the Actions column of the compatible product that you wish to delete. A confirmation dialog will be displayed; click Delete to confirm the deletion or Cancel to cancel and close the popup.

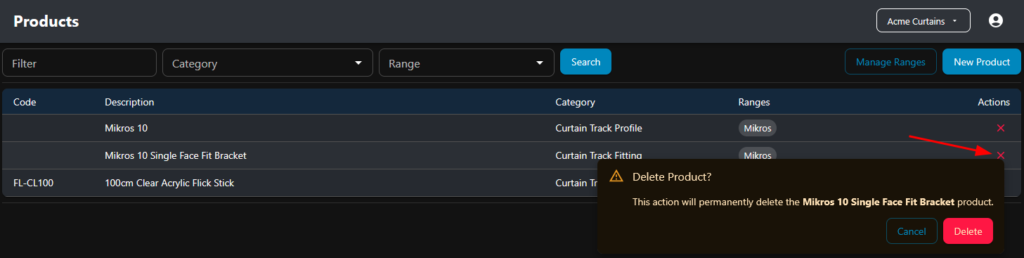
Deleting Products #
To delete a product, click on the red X in the Actions column on the Products page, on the table row of the product you wish to delete. A confirmation dialog will be displayed prompting you to confirm whether you wish to delete the product or not. Click on the Delete button to confirm, or the Cancel button to cancel the delete.